How to install a Shipping Container Window & Security Shutter
Our installation instructions will show you how to install a window shutter and glazing into a shipping container ready to be repainted and finished on site.
VIEW OUR ACCOMPANYING INSTALLATION VIDEO HERE: https://youtu.be/EaY9wLaK2nc

Total Time Needed :
2
Hours
50
Minutes
Required Tools:
Things Needed?
Steps to install a container window shutter:

Safety First
When installing a container door you should always:
– Consider your surroundings and wear the appropriate PPE
– We recommend a minimum of 2 people to install. Container doors & shutters are heavy
– Ensure that your welding set us properly earthed prior to any welding taking place
Step 2 – Grind back 2 areas for the support brackets
Linish off two points directly underneath; this is remove the paint and give you bare metal to weld to.

Step 3 – Tack weld the support brackets
Tack weld 2 support plates to hold the box section frame in place for the next stage. We highly recommend this additional step to avoid having to hold it up by hand.
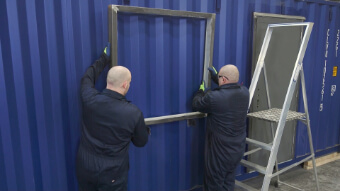
Step 4 – Lift RHS frame into position
Lift up the box section frame and rest it on the support plates.
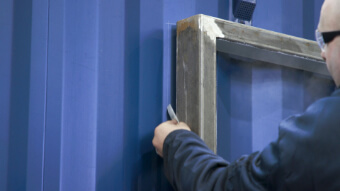
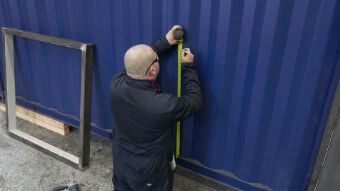
Step 5 – Mark out the hole
Draw a chalk line around the box section frame. Keep the aperture size as small as possible, with a maximum of 2mm between the chalk line and the external size of the box section, or the gap will be difficult to fill with weld and mastic.
Step 6 – Remove the support brackets
Lift the frame back down and remove the support plates.
WARNING: Do not be tempted to weld the shutter directly into the container side. The box section surround is required to add rigidity and prevent deformation within the side of the container.

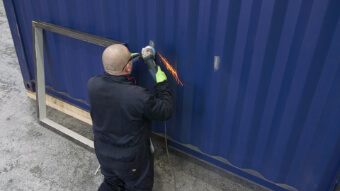
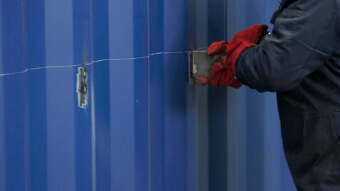
Step 8 – Tidy up the cut edges
Be sure there is someone to push the loose sheet metal away once you come to the final cut. Tidy up the cut edges using a linishing pad in preparation for welding at the next stage.


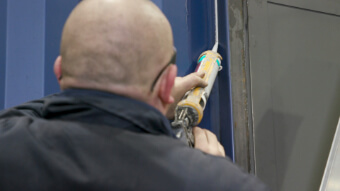
Step 10 – Weld the RHS frame in
Tack weld the box section frame into position using a spirit level on each face to ensure it is square. Use clamps to secure the box section in place whilst welding. We recommend fully welding across the top with a 100mm weld down each side and a then 25-30mm stitch weld every 250-300mm for the remainder to ensure protection against water ingress.
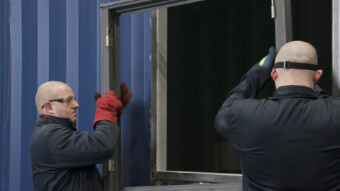
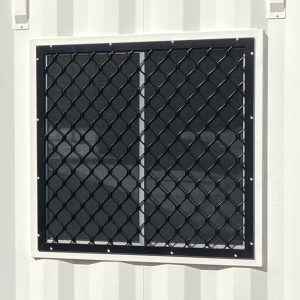
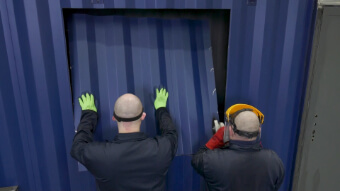
Step 11 – Lift the window shutter frame into position
Turn your attention to the window shutter unit. Open the shutter door leaves and remove them by by opening them up to 180 degrees then lifting them off their lift off hinges. Position the window shutter frame into the box section frame opening.

Step 12 – Tack shutter frame into RHS frame
Tack weld the shutter frame into place at the corners.
PLEASE NOTE: Our anti-vandal window shutters have a pre-masked edge, central to the external face of the frame. This saves linishing them back, you can weld along this edge.
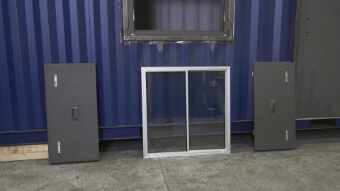
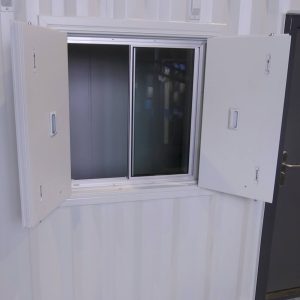
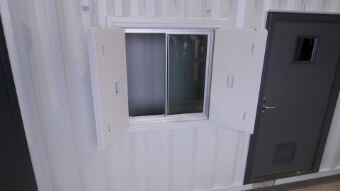
Step 13 – Position glazing into place
Now the window shutter frame is installed, before putting the door leaves back onto the hinges, install the shipping container window. This is an aluminium sliding glazing unit which has been designed to slot into the reveal within the window shutter frame.

Step 14 – Install glazing
You can simply tek screw the aluminium window into place, or drill and pop rivet using the pre-drilled holes as guides.
PLEASE NOTE: It is preferable to install the glazing after the painting process has taken place. We installed the window into the primed window shutter unit for demonstrational purposes only.
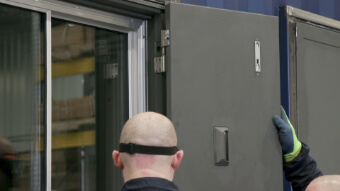
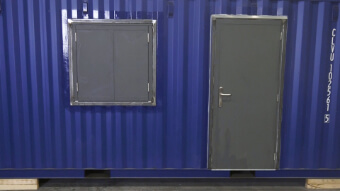
Step 16 – Test the closing and locking
Close the shutter doors and ensure the locking bolts engage into the holes in the frame. To do this, from the inside, flip up the built in security catches and slide open the glazing unit to access the flush bolt.
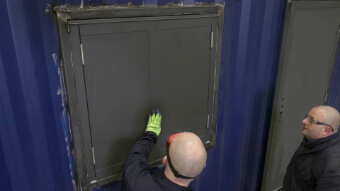
Step 17 – Seal any joins and gaps
Weatherproof the install by sealing the joins between the box section frame and the shipping container, along with the perimeter of the window shutter frame where it meets the box section frame using industrial grade silicone.
Step 18 – Paint the shutter with the container
Paint the Anti-Vandal Window Shutter and box section frame along with the shipping container if the whole unit is having a full respray. No masking is required, unless you intend to only paint the newly installed shutter and surround. Traditionally single or 2 pak paint is used to paint shipping containers; our window shutter units are primed ready to take this final coat with no preparation other than a slight ‘key’ to aid with paint adherence.
See our other guide for advice on how to install a shipping container door.
Featured Products
-
 Shipping Container WindowFrom: $385.00
 -
Container Window ShutterFrom: $660.00
-
Heavy Duty Side Door & Frame for Shipping ContainerFrom: $1,155.00